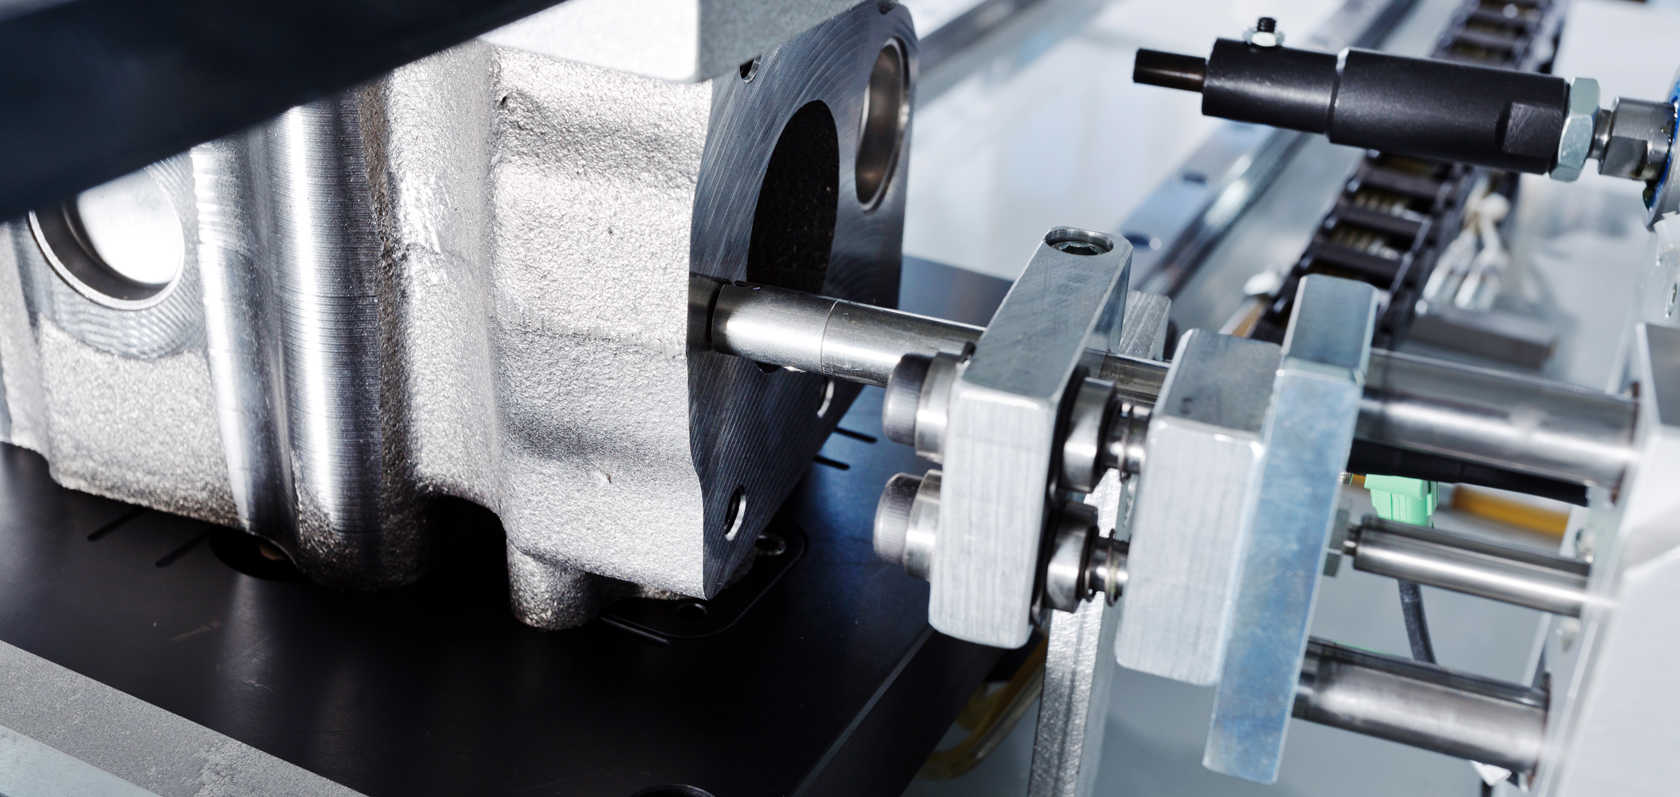
LEAK TESTING
AIRTIGHT COMPONENTS ARE CRITICAL
TO PRODUCTION QUALITY
Leak testing is an important step in the validation of component quality in the automotive sector, medical technology, fittings technology and many other industries. Only through precise component testing can you be sure that your products are also functioning reliably. We build machines for leak testing, providing the sense of certainty that comes with outstanding quality assurance for your products.
Our work always starts with your component. You provide us with testing pressure and permissible leak rates, and we do the rest. We identify the optimal test procedures that will quickly, precisely and consistently determine whether your part fulfills the defined requirements. Various factors are taken into consideration in the selection of the testing procedure, such as pressure, volume, testing procedure time and the clamping forces that may affect a component.
We design and build machines and testing devices for various air and gas test procedures according to the general conditions.

THE BASE OF LEAK TESTING
THE SEALING CONCEPT
FORMS THE FOUNDATION
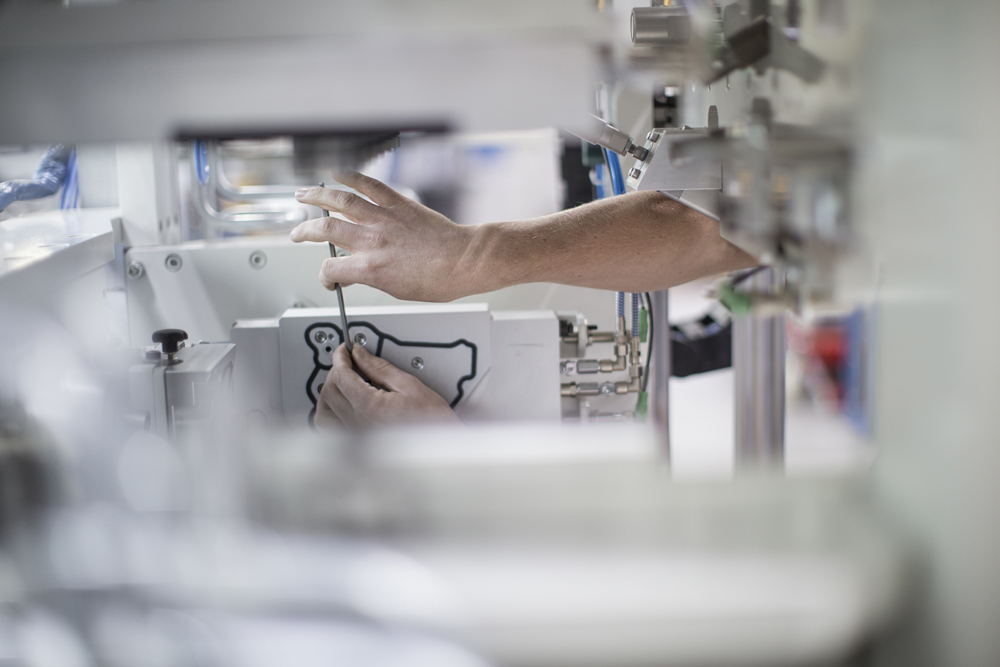
A well-engineered sealing concept is the foundation of durably accurate leak testing. A large part of our expertise is in this very area. Answering crucial questions is of the essence:
How and in what order are components sealed?
How can various test spaces be measured using the right test procedure?
What order are components tested in?
What is the mechanical sequence?
What kind of clamping forces are likely to act on the component?
The design for these complex processes is developed and worked out by our engineers, master craftsmen and technicians, and coordinated in detail with our customers.
We are in charge of production, from equipment to consumables.
Rubber seals are of crucial importance in this process. They serve as the connection between testing device and component. Their quality determines the precise testing position and is essential to a reliable seal. Due to the elementary importance of these aspects, we produce seals in-house, providing significant advantages for our customers:
- perfect matching of sealing device and component
- consistent quality
- quick, long-term availability
TECHNOLOGIES
THE RIGHT
TESTING PROCEDURE
FOR YOUR COMPONENT
Depending on the component and the desired leakage rate, different testing procedures are necessary to ensure the specific tightness according to the given parameters. Measurement procedures with air are common and cover many various requirements. Measurement procedures with gas cost more time, effort and money, but can detect even smaller leakage rates. If components do not meet the desired requirements, leak localization may be necessary in order to find the defects.
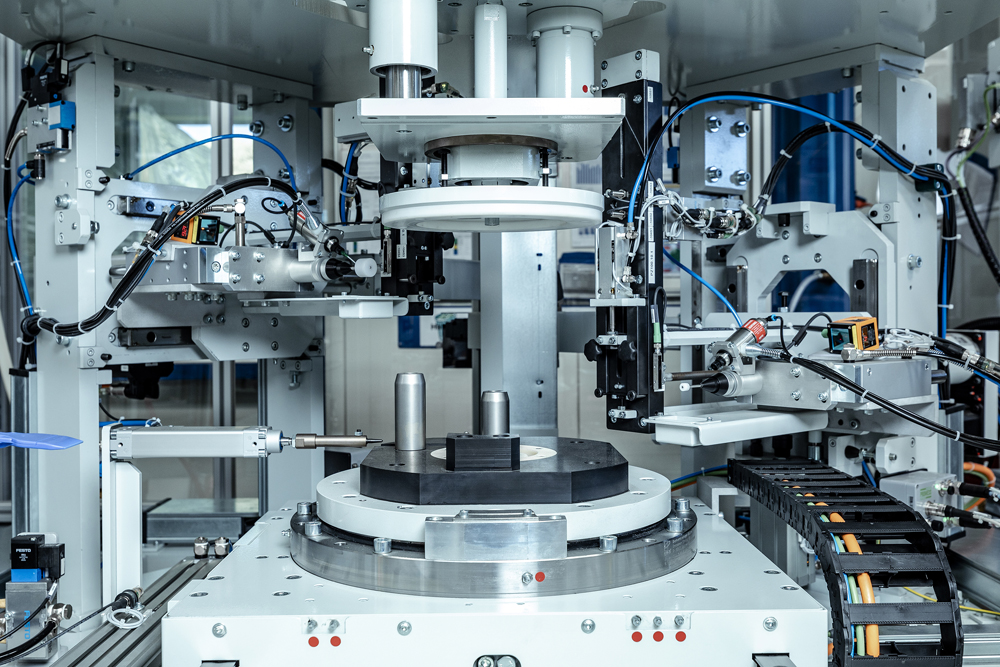
AIR TESTING
TEST PROCEDURES AND LEAK LOCALIZATION
PRESSURE DIFFERENCE PROCEDURE
The pressure difference procedure is inexpensive and is especially suitable for small testing volumes. A pressure difference transmitter detects drops in pressure. The system can calculate the leakage rate based on the configured testing volume
MASS FLOW PROCEDURE
The mass flow test is suitable for larger testing volumes in order to achieve shorter cycle times. The test air is siphoned from an external solid volume into the component. After pressure equalization, the air flow escaping from the component is measured. As a result, a stable measurement result is achieved.
FLOW TESTING/FLOWTEST
Flow testing is used to determine whether openings, such as bore holes, provide the required permeability. It is possible to determine closures of ≥30% with this procedure. The back-pressure test can identify bottlenecks precisely by means of possible air back pressure.
VACUUM TESTING
As with pressure difference testing, vacuum testing uses negative pressure to test a component. This procedure is especially useful for components that cannot put up with high clamping forces.
LEAK LOCALIZATION
For parts or prototypes whose leak testing results fall outside the standard range, the site of the problem can be precisely determined using leak localization. In a submersion test, the component is filled with air in a transparent water tank. Leaks can be precisely located through the formation of bubbles. Alternatively, the sealed and helium-filled component can be checked using a leak sniffer.
VIDEO
GAS TESTING
HELIUM ACCUMULATION TEST
By comparison to measurements using air, the helium accumulation test helps to identify significantly lower leakage rates due to the usage of a mass spectrometer. This method requires a separate test chamber where the component needs to be clamped.
Step 1
First, the component is checked in a measurement procedure using air. This is to ensure that no helium contamination of the environment occurs if gas testing reveals large leaks.
Step 2
Provided that the values of the air testing are within the standard range, the testing device is sealed off, and the component is filled with helium. Using a fan, potentially escaping helium is evenly distributed within the test chamber.
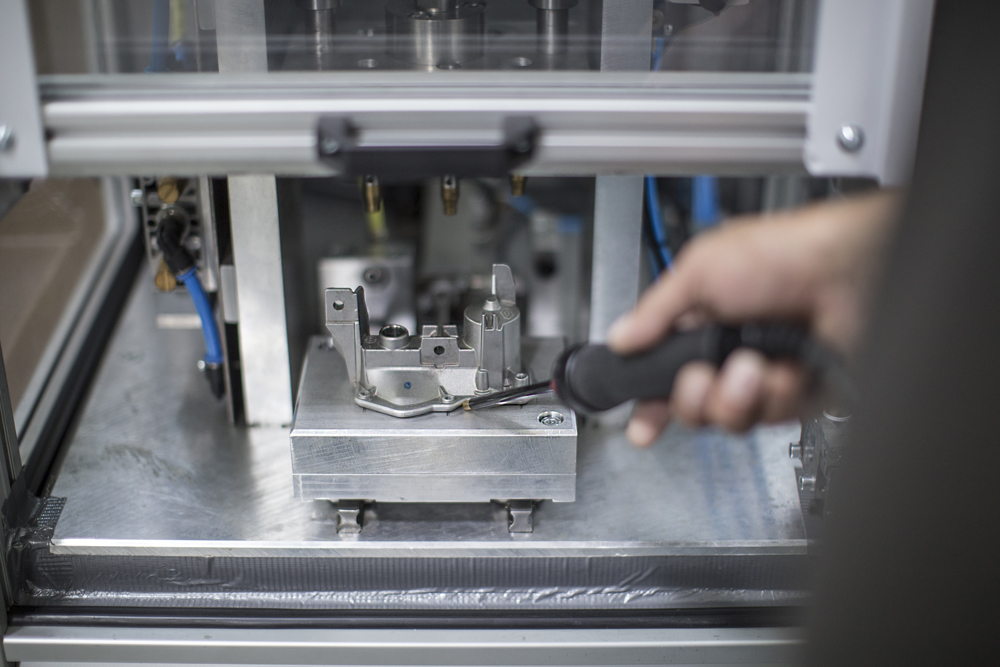
CONTACT
WOULD YOU LIKE TO KNOW MORE ABOUT OUR LEAK TESTING MACHINES?
From non-binding inquiries to specific advice, we are at your disposal.
ADDITIONAL INFORMATION
LEARN MORE
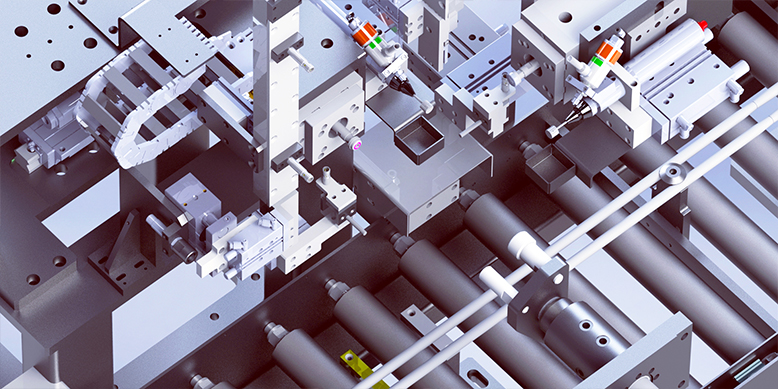
REFERENCE: ENGINE CYLINDER BLOCK TEST AND ASSEMBLY
We combined all of our core areas to create a complete system for the supplier of a well-known automotive manufacturer from China.
Click here to learn more
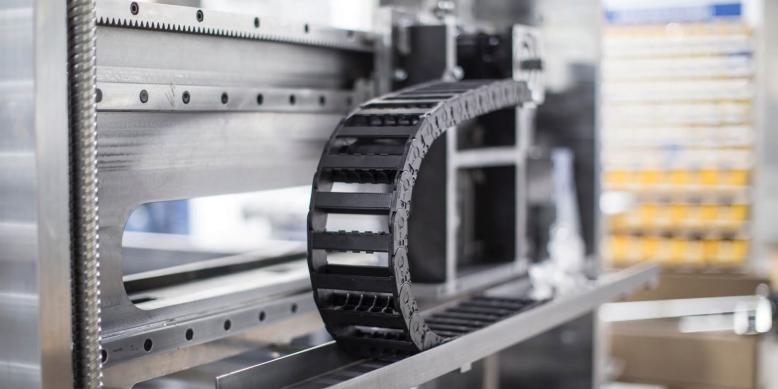
OUR MACHINE DESIGN
Our machines are characterized by robust, solid construction, which has proven equal to the task of continuous industrial use over the years.
Click here to learn more


